November 2010
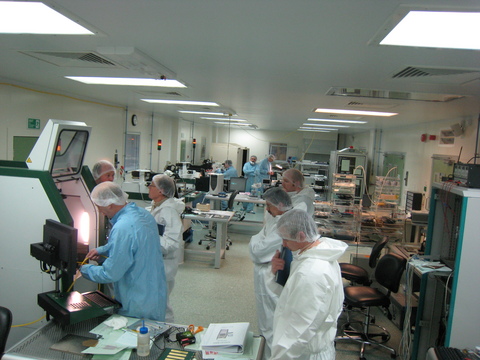
This webpage contains pictures and links to video clips taken at the instruction
session for assembling ATLAS SCT Upgrade Strip Sensor Modules.
The aim of these videos and pictures is to illustrate the use of the various
jigs, templates as used in the assembly procedure, and the procedure itself.
The hybrid assembly procedure is detailed below, pictures and videos of the
module assembly can be found here.
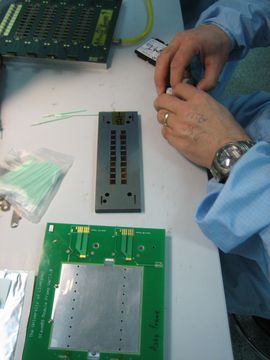
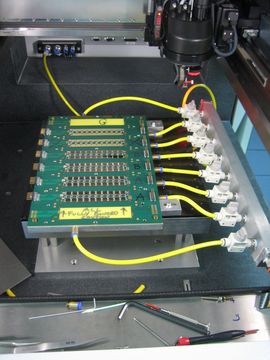
Above Left: L to R: ASICs vacuum pickup tool, weights, ASICs template and hybrid panel
Above Right: ASICs pickup template and module jig
Below Left: [Video] Loading the ASICS into the template
Below Right: [Video] Inspection of the ASICs in the template
Below Left: [Video] Picking up the ASICs from the template, and visual inspection
Below Right: [Video] Illustration of the use of the jigs (note T, A, B
marks), and dropping the ASICs back into the template
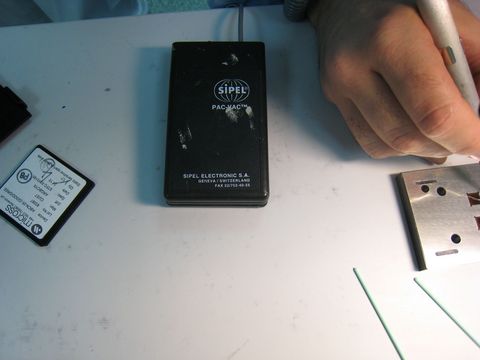
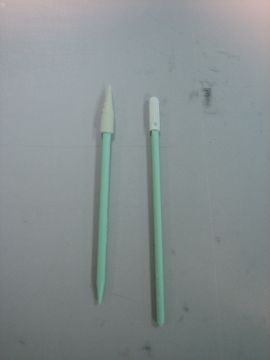
Above Left: SIPEL Pac-Vac portable vacuum pickup tool
Above Right: Qtips for dust removal and gentle nudging
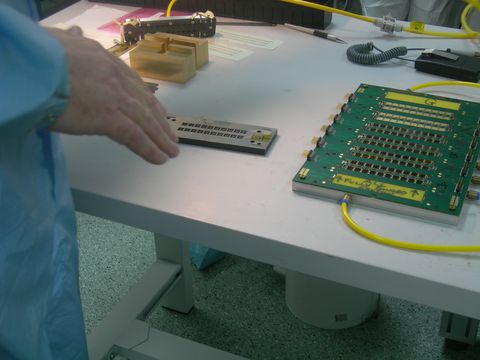
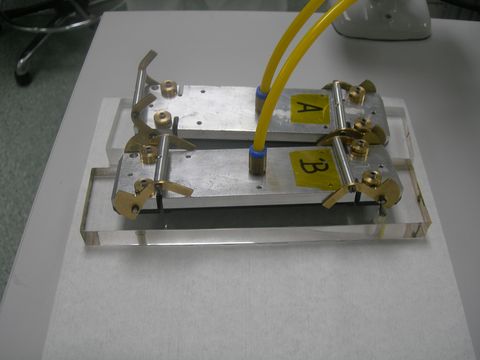
Below Left: 2 vacuum pickup tools/jigs, labeled 'A', and 'B', for putting 2 hybrids down on
a single sensor simultaneously
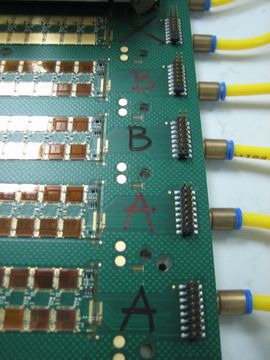
Below Right: Hybrids labeled 'A', and 'B', on the hybrid panel. Note that
two vacuum pickup tools will not fit onto adjacent hybrids on the panel.
Below Left: [Video] Mounting the glue template onto the ASICs in the vacuum
pickup tool prior to glue application
Below Right: [Video] Application of glue onto the ASICS, lowering the
ASICs in the vacuum pickup tool onto a hybrid
in the panel
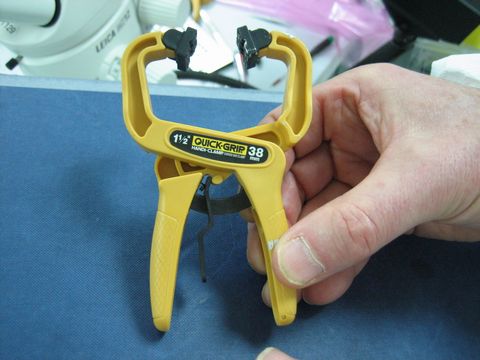
Above Left: Clamp for holding the glue template in place during
glue application - note the rectangular supports on the pickup tool taking the
clamping force
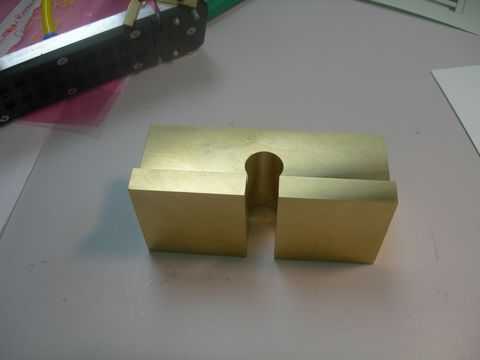
Above Right: The weight used to hold the ASIC pickup template in place
Below Left: [Video] Another take of the ASICs, with glue on, being
lowered onto the hybrid
Below Right: [Video] Cleaning of the glue template
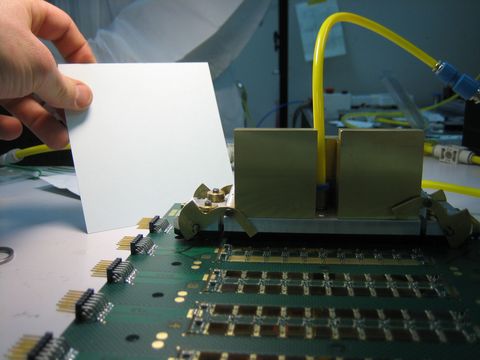
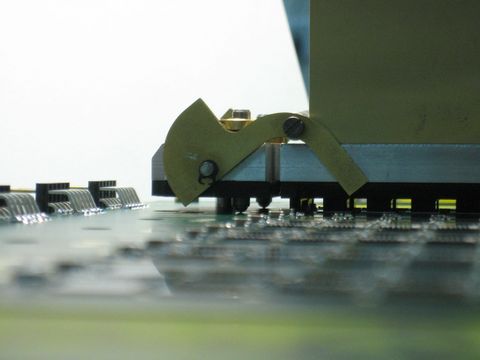
Above Left, Right: : Inspection of vacuum pickup jig feet touching the
designated landing pads on the hybrid. The card is used to provide a bright
background for looking at the feet between the pickup jig and hybrid top side
Below Left: [Video] Inspection and removing debris or dust from the glued
ASICS on the hybrid
Below Right: [Video] Detailed explanation of glue jig adjustment and
glueing trials
Below Left, Right: The hybrid panel, ready for wirebonding in the Hesse
Knipps BJ820 automatic wedge bonder